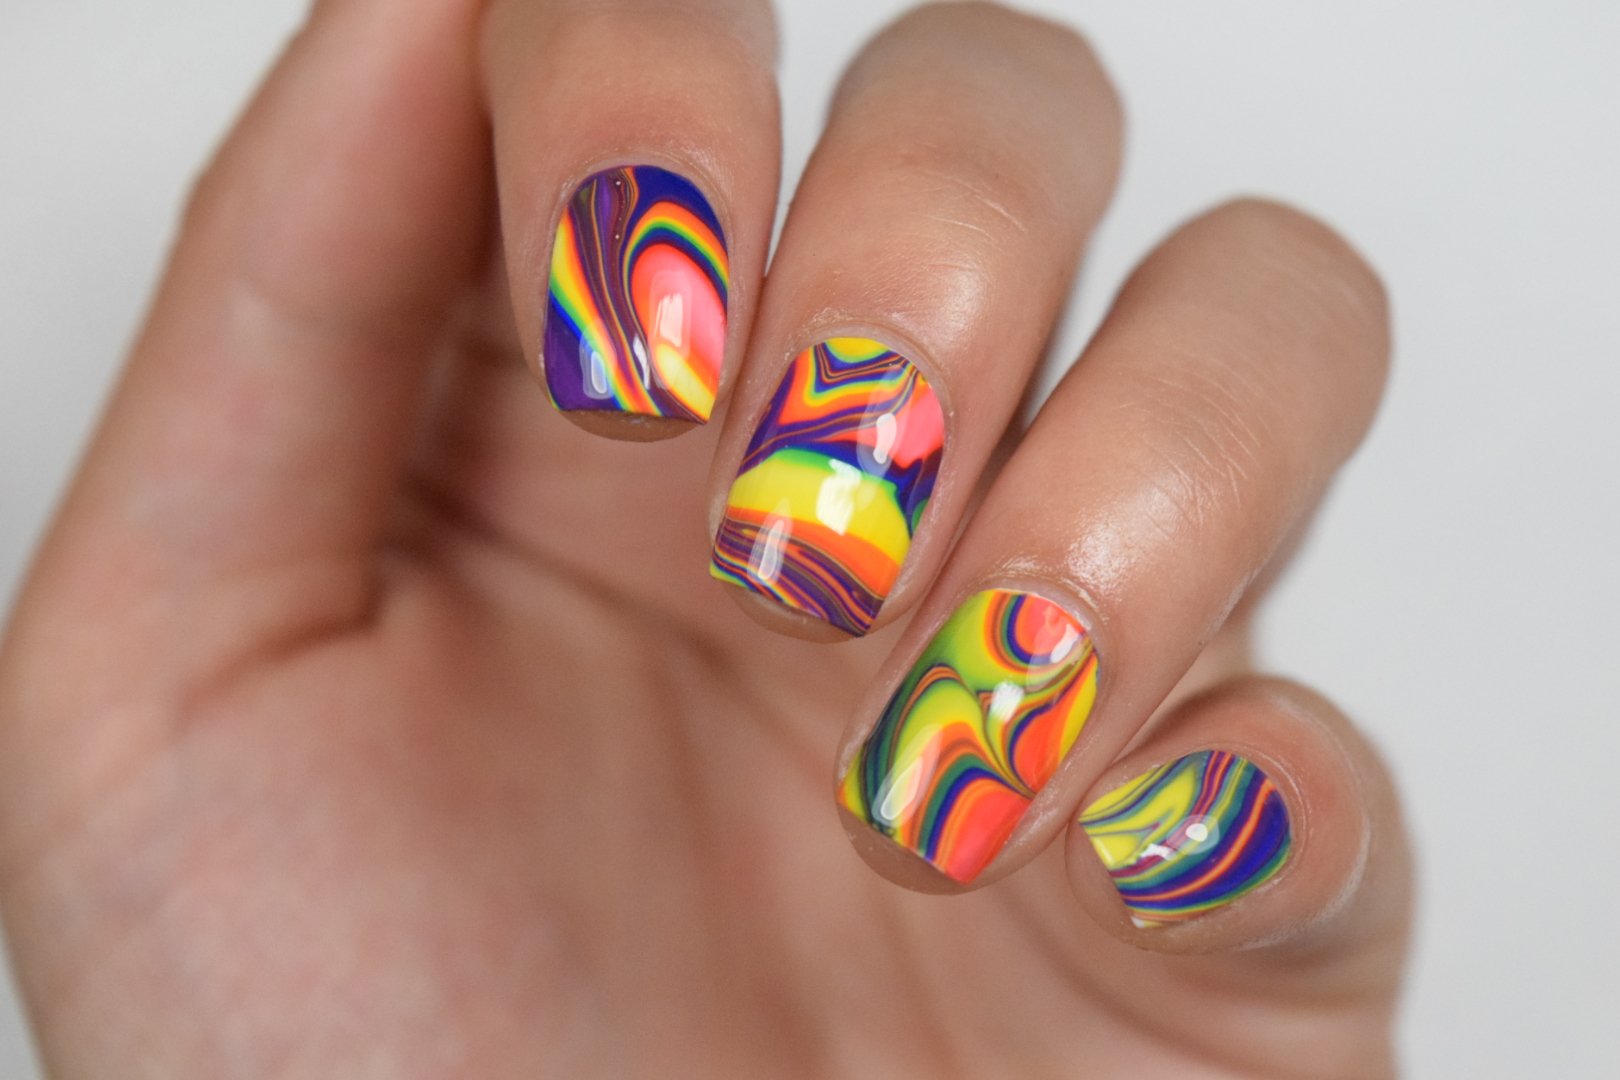
DIY Tutorial Beginner Nail Art: Water Marble Nails Technique
How to Get Perfect Water Marble Nails at Home
Water marbling is one of the most fun and creative things you can do with your nails, but it’s definitely not something you want to try on your own without first having some practice. This step-by-step DIY water marble nails tutorial will help you master this tricky art form, so if you’ve always wanted to try it out but felt like it was too hard, keep reading! You’ll be amazed at how simple it really is.
Supplies Needed
You will need nail polish in a variety of solid creme colors, a clear top coat, dotting tools or toothpicks, and paper towels. You will also need a clean up brush and acetone, unless you are using liquid latex or tape around your cuticles and finger skin.
You will also need a disposable cup (or a reusable cup that you don't plan to use for drinking again, just devote this cup to nail art and painting from now on.)
Fill the cup with room temperature water. If the water is too hot or cold, it will effect the nail polish by drying it too quickly while you make your design.

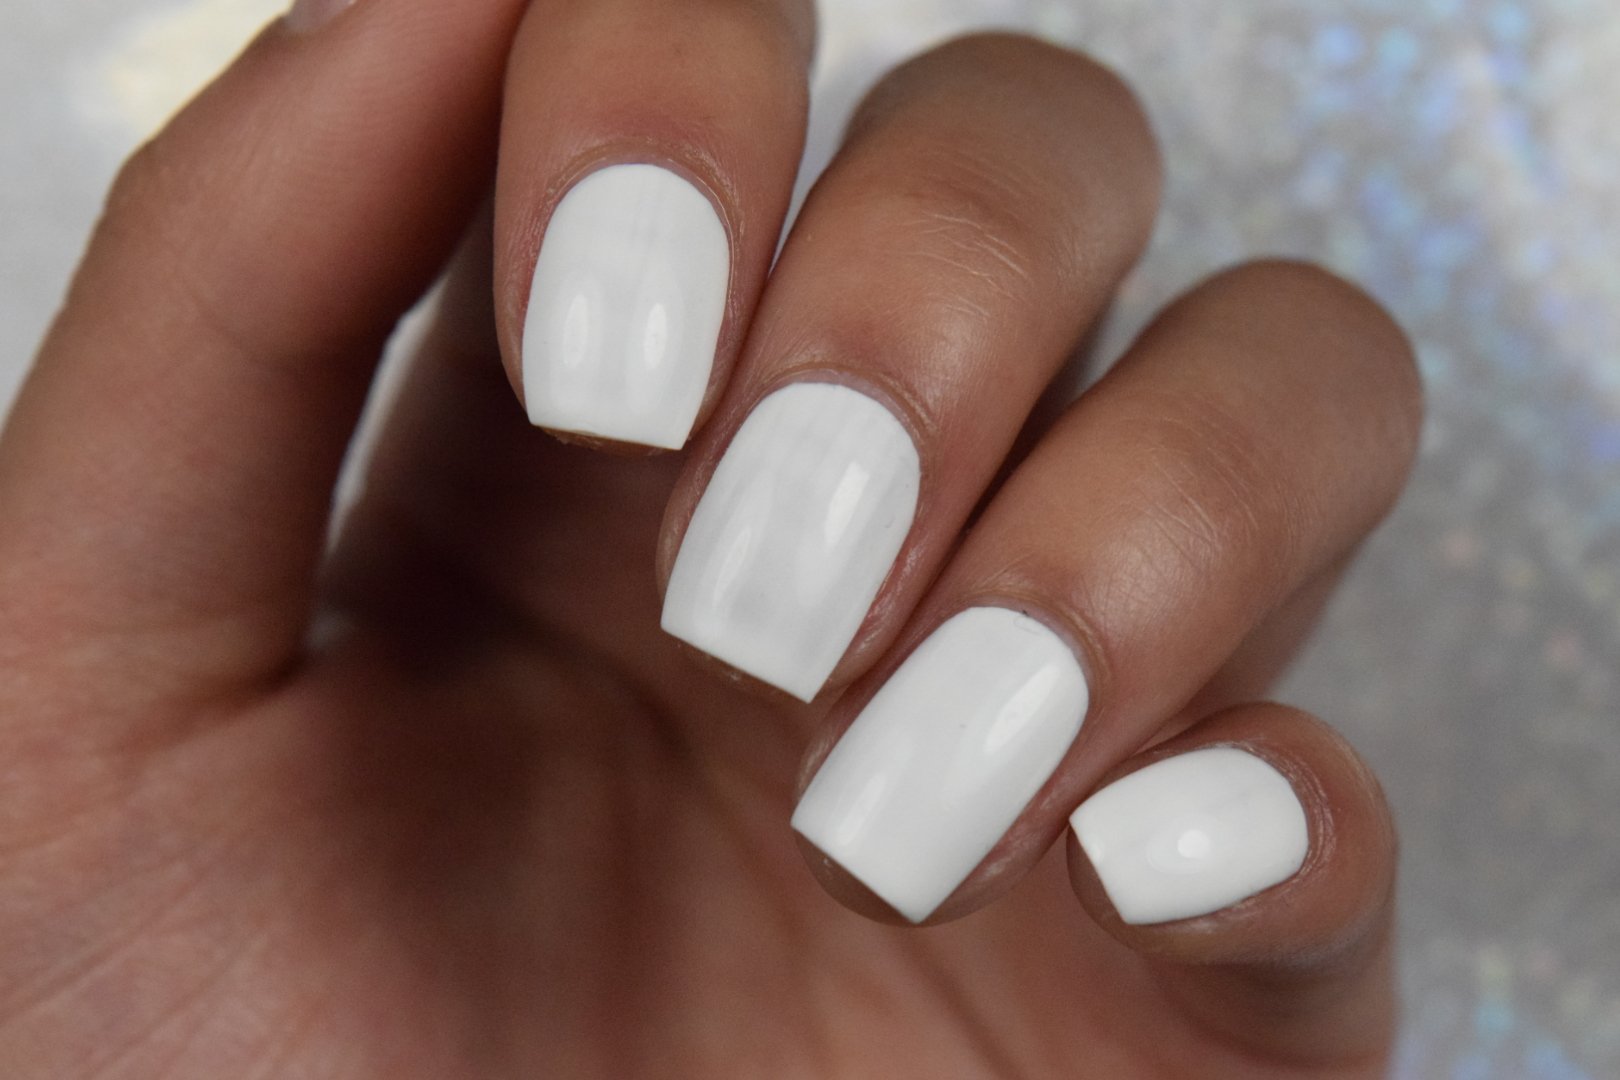
Trillium 🤍
Celebrate Michigan's protected wildflower with Trillium, a pure white creme nail polish that embodies the delicate beauty of the white trillium.
Key Benefits:
Solid white creme nail polish
Long-lasting and chip-resistant for everyday wear
100% vegan, cruelty-free, and toxin-free
Handmade with care in Traverse City, Michigan
Fun Fact: The white trillium is a protected wildflower in Michigan, and is known for its three-petaled, pure white blooms that symbolize the renewal of spring. It’s commonly found in the state's woodlands, often in clusters, creating a beautiful and serene natural display!
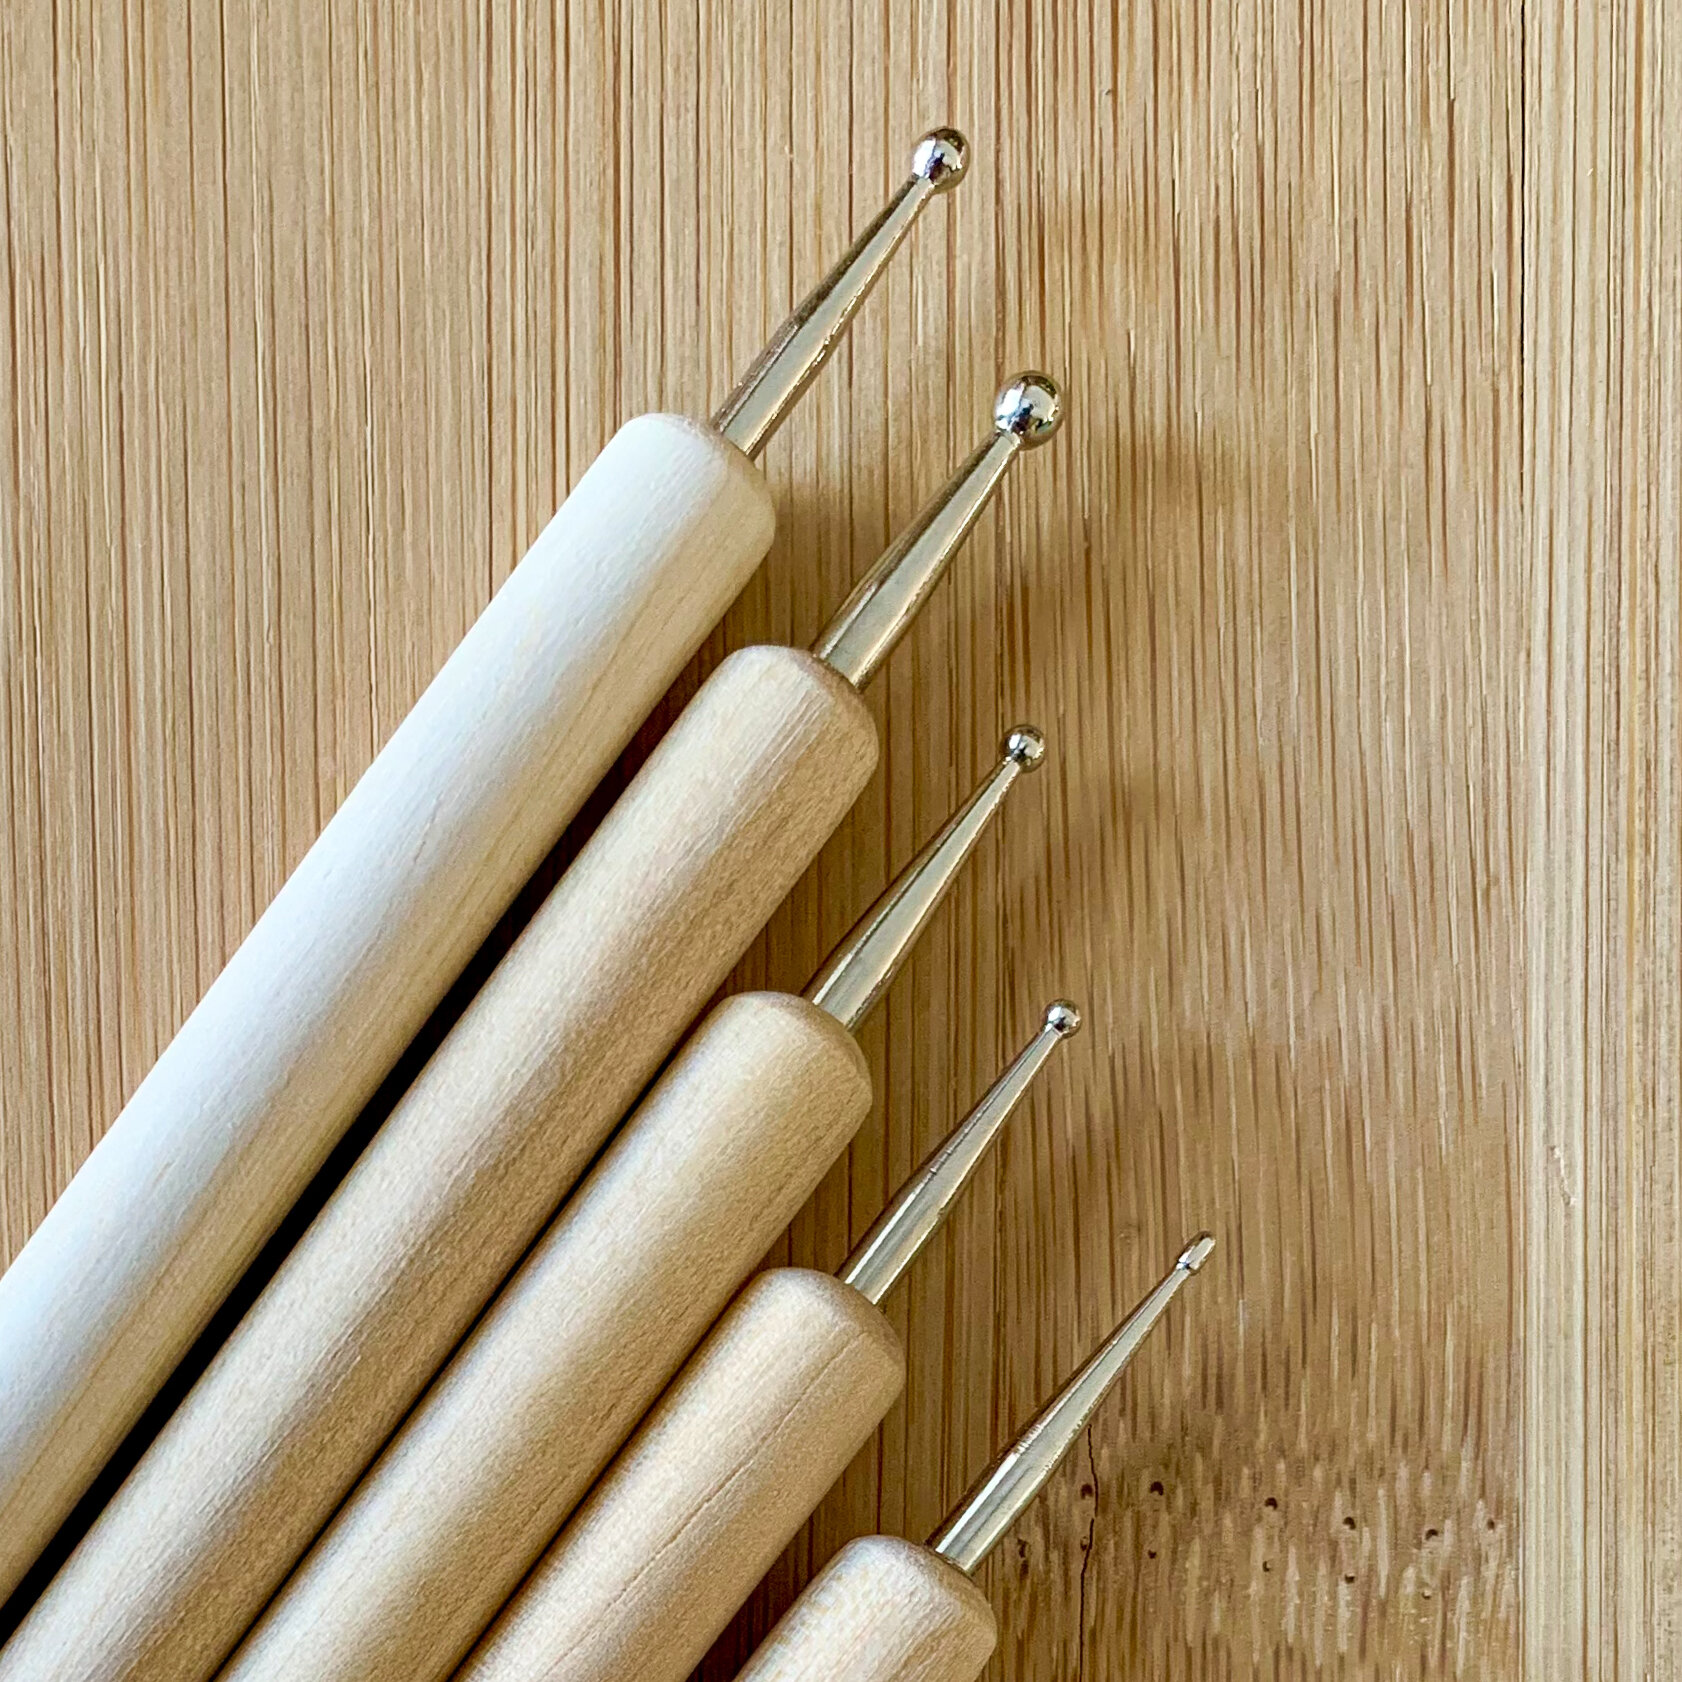
Nail Art Dotting Tools
Bring your creativity to life with these Nail Art Dotting Tools, perfect for easy beginner and intermediate nail art techniques. Simply dip the tool into your favorite nail polish and start dotting for fun, stylish designs. Whether you’re new to nail art or a seasoned pro, these tools are a must-have for adding unique flair to your manicures.
Perfect for creating dots, flowers, and other simple designs
Suitable for all skill levels, from beginners to experts
Lightweight and easy to use for precise nail art
Durable and reusable for endless creative possibilities
Check out our Easy Nail Art Tutorials on our Blog!

Natural Nourishing Nail Polish Remover
Our soy-based nail polish remover is a game-changer for your nail polish removing routine. It’s effective enough to remove natural nail polish but non-drying and gentle enough to keep your nails and skin happy. Packed with vitamins A, C, and E, it nourishes your nails while keeping them hydrated and healthy. The soothing lavender scent makes the process feel like a at home spa. Acetone-FREE and harsh chemicals-FREE, so it won’t damage your nails or dry out your skin.
Bottled in Traverse City, MI, this vegan and cruelty-free formula is an eco-friendly choice.
How to Use:
Saturate a cotton ball or pad with the remover
Gently wipe each nail and allow to absorb for 30-60 seconds
Wipe nails until polish is completely removed
Wash hands thoroughly with soap and dry off
Make sure nail bed is dry and clean before applying new nail polish
Follow up with our Nourishing Cuticle Balm for extra care
"This remover is a game-changer! It's so gentle on my nails and leaves them feeling moisturized. The lavender scent is an added bonus!" - Happy Customer
Directions: Saturate cotton ball or pad with nail polish remover; wipe each nail first and allow to absorb in the nail for at least 20-30 seconds; wipe each nail until polish is removed. Make sure nail bed is dry and clean before applying nail polish.
Caution: For external use only; avoid contact with eyes. Discontinue use if irritation occurs; do not use if you are allergic to soy derivatives. Keep out of reach of children. Excessive nail polish remover may damage acrylic or plastic surfaces.
Bottled in Traverse City, MI. Made in the USA.
Ingredients: Dimethyl Glutarate, Dimethyl Adipate, Methyl Oleate/Palmitate/Linoleate/Stearate, Polyoxyethylene Castor Oil, Proprietary Vitamin Blend – A, C & E: PEG-8 Dimethicone, Octyldodecanol Tocopheryl Acetate, Retinyl Palmitate, Ascorbic Acid & Silica, Sodium Propoxyhydroxypropyl, Thiosulfate Silica, Lavender Essential Oil.
~~~
Recommended nail care routine:
Shape nails with glass nail file to desired length and shape. Wash hands and dry completely.
1. Apply a coat of Nourishing Base Coat
2. Apply two thin coats of color, making sure all coats dry in between layers
3. Apply a coat of 30 Second Top Coat to finish off the look
Once manicure is dried completely, you can apply the cuticle oil around the skin and nails to keep cuticles healthy and moisturized.
For removal, dab a cotton ball with a small amount of remover and dab onto each nail and let soak for about a minute before scrubbing at the nail polish.
Preparing Your Nails
Begin by painting your nails with the first color you want to use. We recommend using a base coat to protect your nails, and using white as the base color to start out with.
Allow each layer of polish to dry before moving on to the next color.
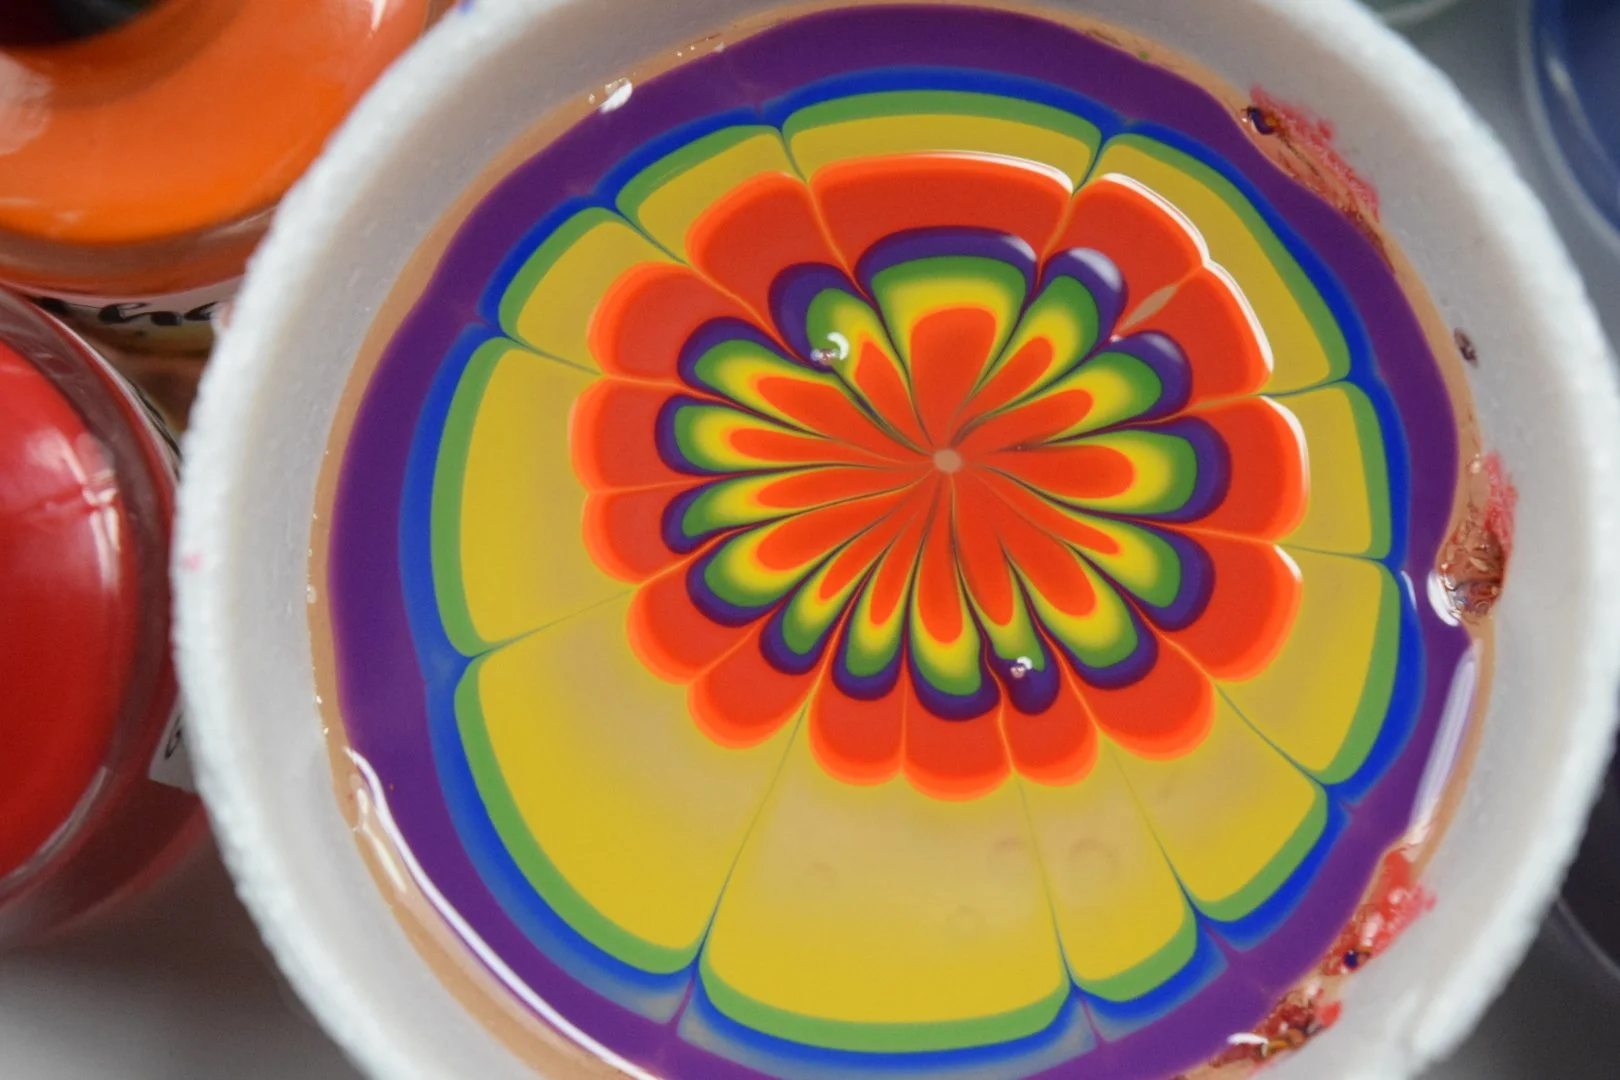
Creating the Water Marble
Drip nail polish into the water cup, one color at a time, dripping one drop into the center of the last color to make colorful rings. Do as many as 5-15 drops total, switching between colors for each drip
Take the toothpick and draw a line from the center of the rings of polish, to the edge of the cup. Do this several times going in different directions, to make a star pattern. For more advanced techniques, you can also draw a swirl after making the starburst shape.
Applying the polish to your nails
Dip your nails one at a time into the cup at the best part of the marbled nail polish. Take a paper towel and clean up the rest of the unused polish before bringing your finger back up to the surface to avoid more color to get onto your nail.
Clean up around the cuticles and skin with your clean up brush and acetone, or take the tape or liquid latex off if you are using that.
Finishing Touches
After the polish is dry, use a dotting tool or toothpick to add small circles of different colors in the empty spaces between larger circles if needed.
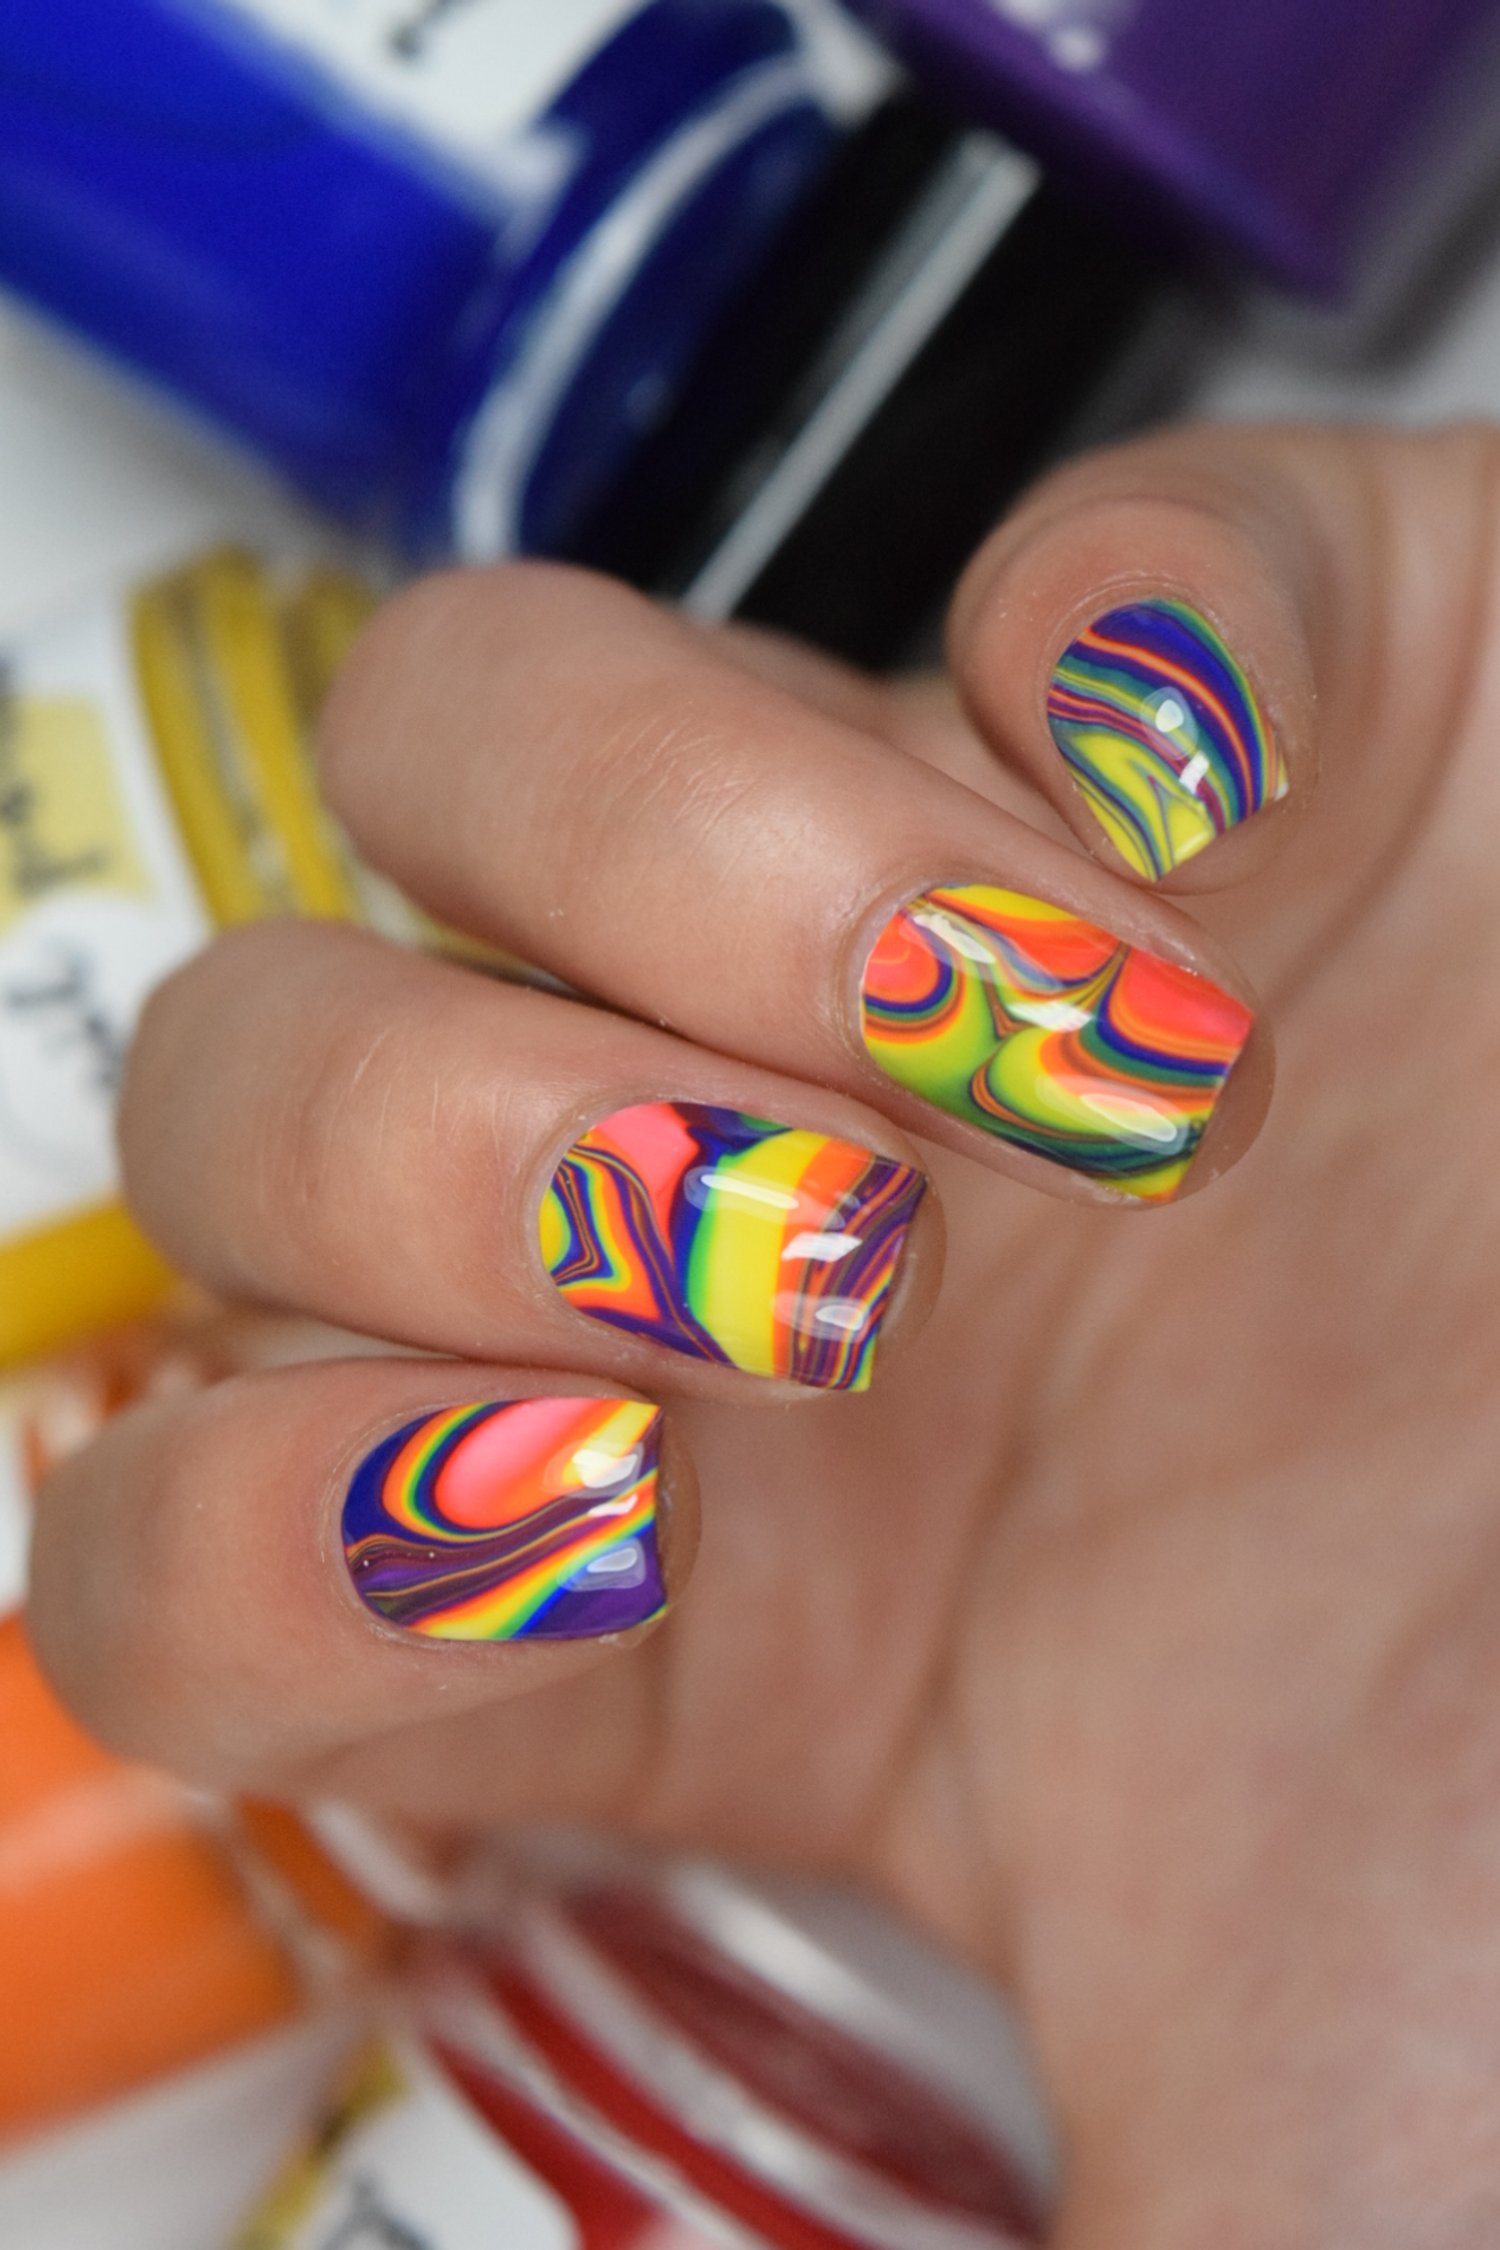
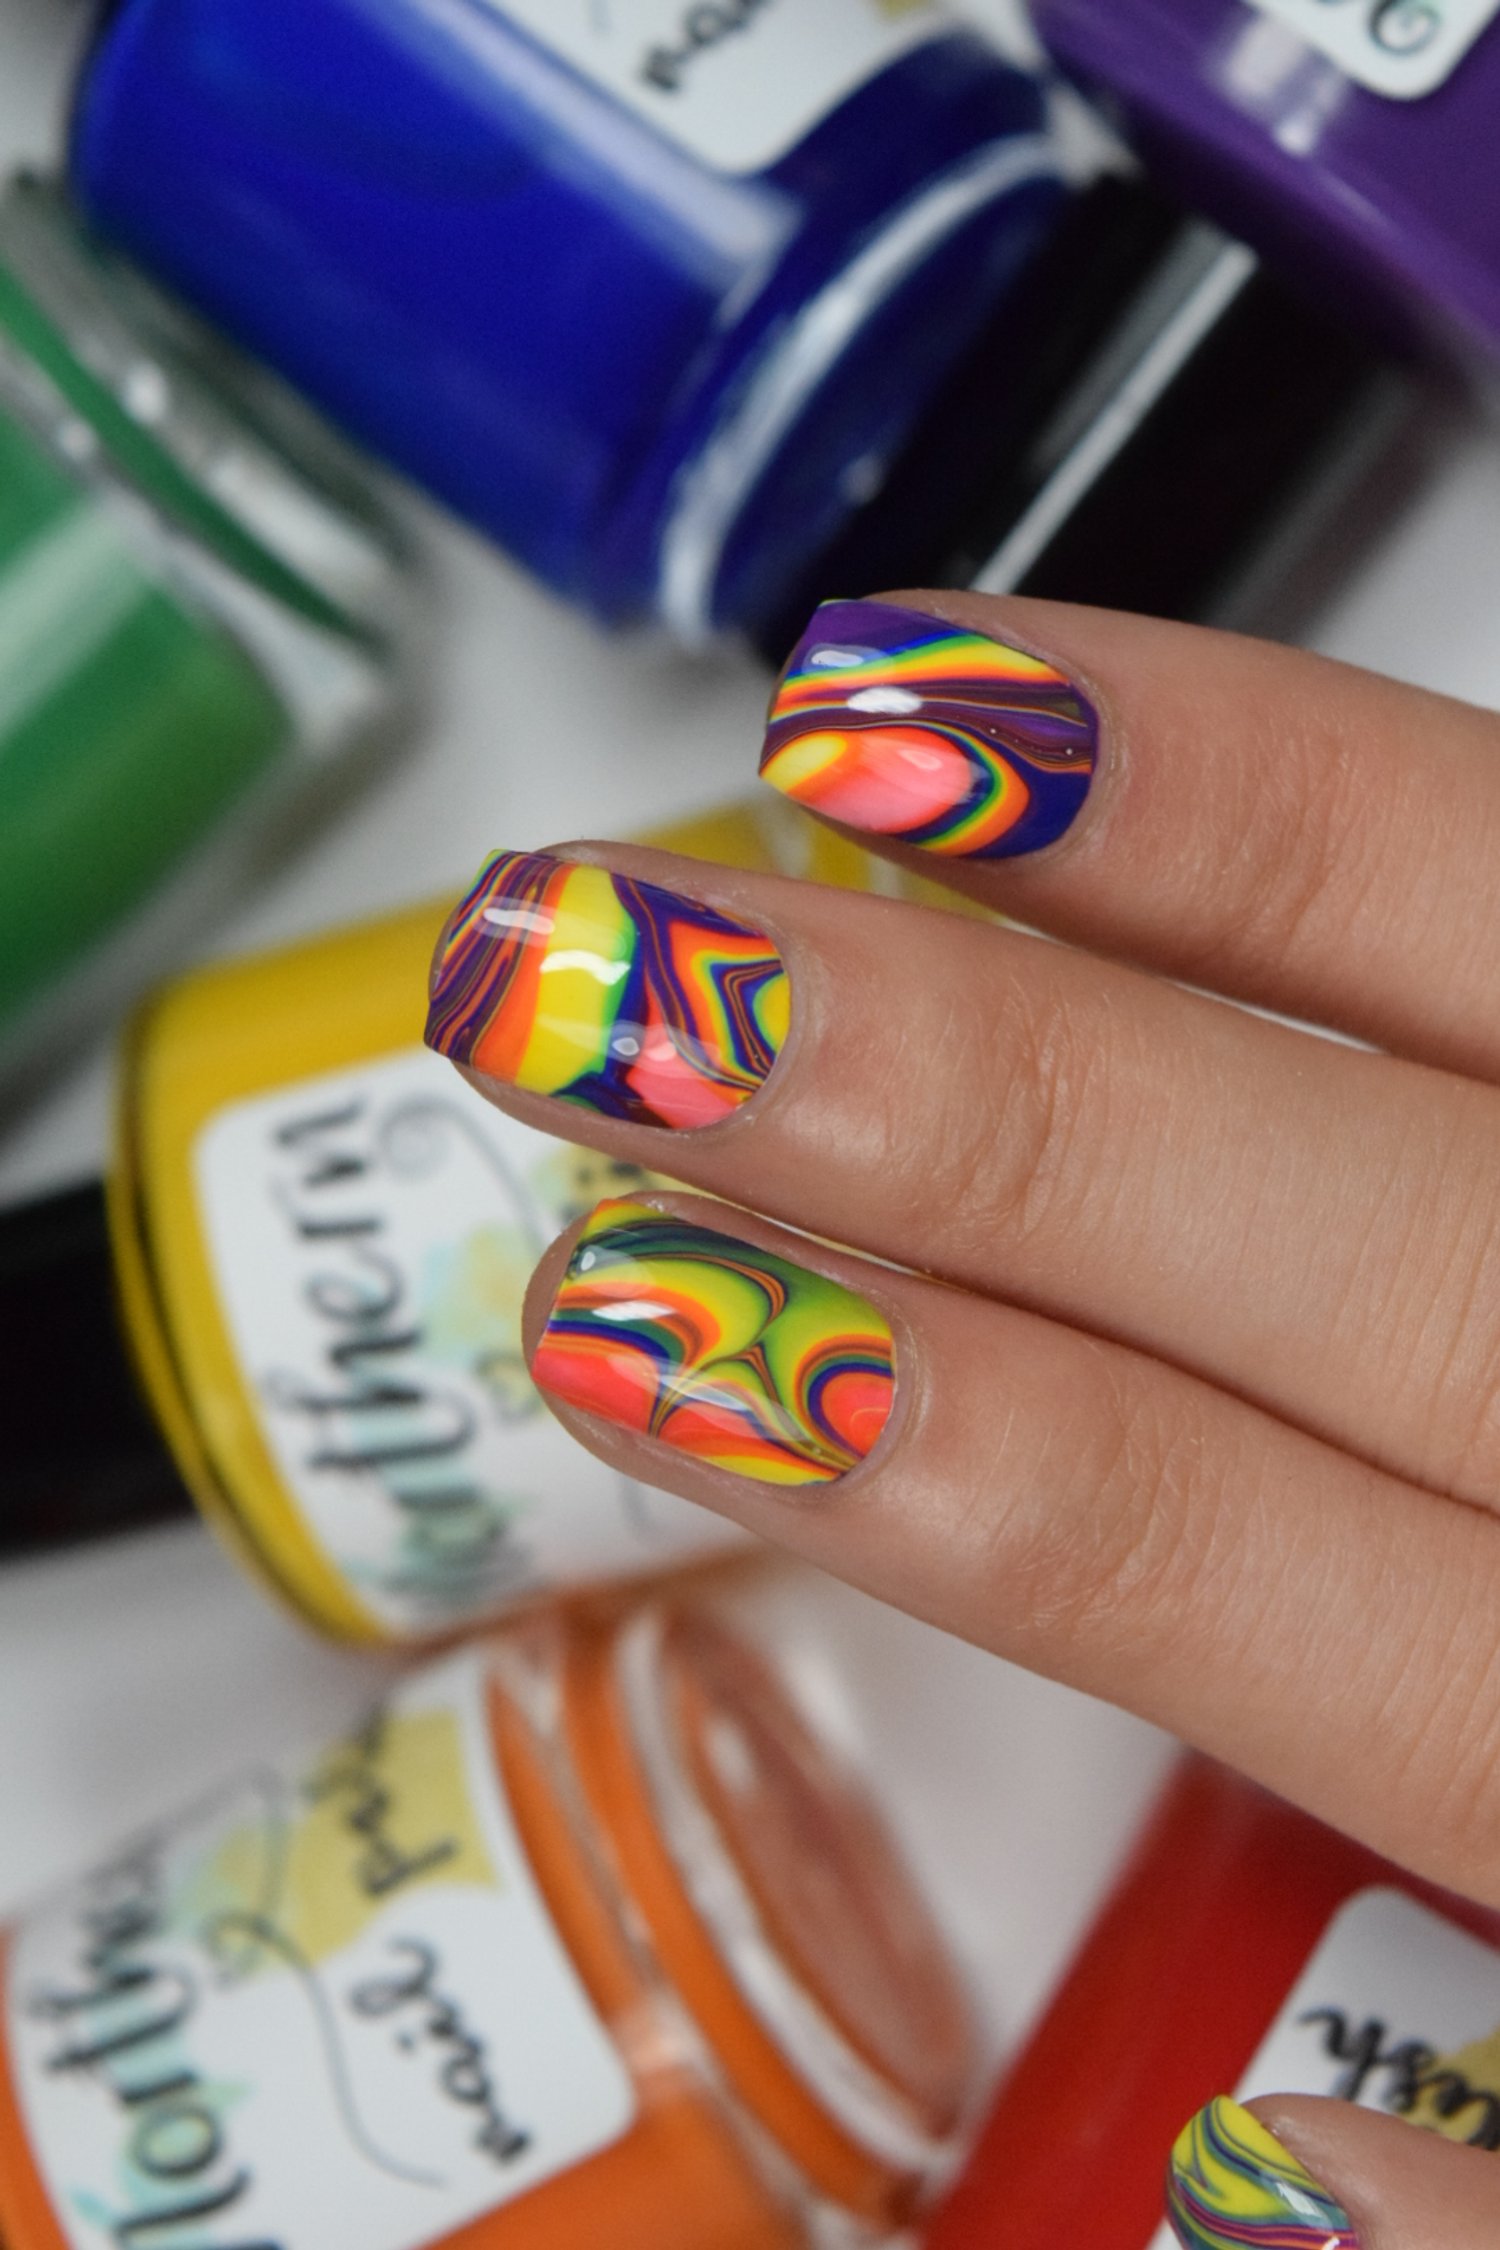
Finish with a top coat and enjoy your new water marble nails!
You can even sparkle it up by applying a glitter top coat for a nice finishing touch. The possibilities are endless! Repeat this process for each finger nail, or just do one or two for an accent nail and paint the rest of your nails a solid color!
The best part about water marbling your nails is that it’s so simple and easy to do! Follow this tutorial, and you can have gorgeous marble nails in minutes with no prior experience required. To get the most out of your water marbling, use darker nail polish colors; they tend to create more striking patterns on the nails and will show off the finished design better than lighter shades. For best results, use at least three different colors; however, you can experiment with as many as you like! Tag us @northernnailpolish so we can see and share your nail art!

“MI Amor” is a brilliant red Northern Nail Polish that shows your love for Michigan with its bold and vibrant shade. This nail polish is impossible to ignore, making it the perfect choice for those who want to make a statement with their nail style.
The bright red hue is both eye-catching and stunning, and is sure to turn heads wherever you go. Whether you're a native Michigander or simply love everything about the state, “MI Amor” is the perfect way to show your love. So why not add a touch of Michigan to your nails today? With its brilliant red shade, MI Amor is sure to become your new go-to color for any occasion.
Perfect nail art red shade, for Christmas Santa, to red cherries, and even stars and stripes!
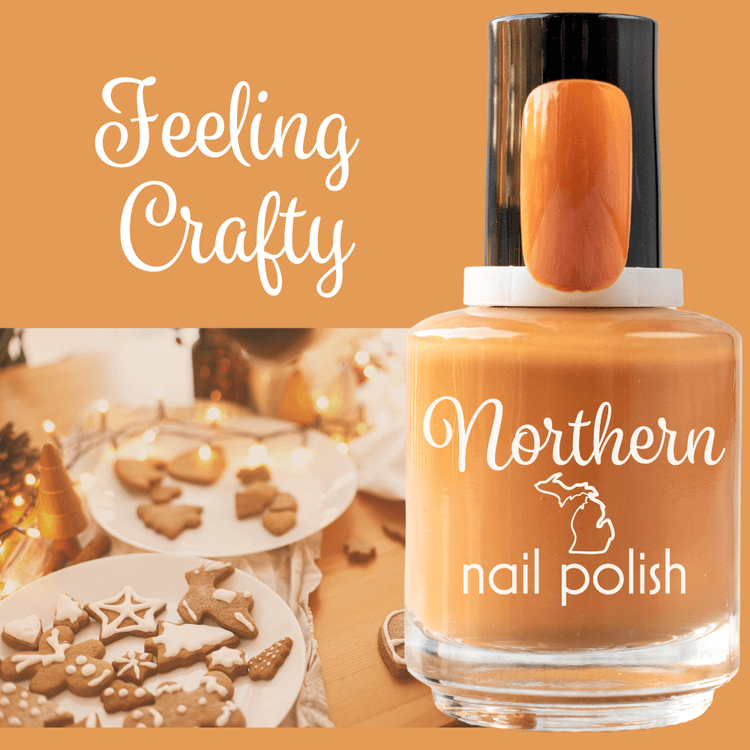
Feeling Crafty ✨
Embrace your creative side with Feeling Crafty, a warm, golden mustard-yellow creme polish that captures the cozy energy of self-expression and artistry. This vibrant shade is perfect for adding an inspiring pop of color to your nails, evoking the rich tones of autumn leaves and the joy of seasonal creativity.
Golden mustard-yellow creme
Long-lasting and chip-resistant for everyday wear
100% vegan, cruelty-free, and toxin-free
Handmade with care in Traverse City, Michigan
Fun Fact: Michigan is home to over 500 craft shows and art fairs each year, celebrating the creativity of local artisans and makers from across the state!

Small Town Charm 🏘️
Celebrate the warmth and friendliness of quaint communities with Small Town Charm, a cheerful candy blue creme polish. This inviting shade evokes the charm of small towns, with their vibrant streets, local traditions, and welcoming spirit. Perfect for those who adore the simple pleasures of small-town life or enjoy exploring hidden gems, this polish brings a joyful pop of color to your nails.
Cheerful candy blue creme inspired by the charm of close-knit communities
Chip-resistant and long-lasting for everyday wear
100% vegan, cruelty-free, and toxin-free
Handmade with care in Traverse City, Michigan
Fun Fact: Michigan is home to many small towns with big charm—like Marshall, known for its historical architecture, Dexter, with its local theatre productions and historic downtown culture, and Clare, home of the famous Cops & Doughnuts bakery!